DIY Confetti Shaker Bookmarks

If you love books and love a little sparkle, DIY confetti bookmarks are about to become your new favorite craft. These colorful shaker bookmarks are quick to make, beginner-friendly, and endlessly customizable. Whether you’re creating cute party favors, gifting something handmade, or just looking for a fun craft project, these confetti bookmarks bring instant joy.
Note: I’ll share the DIY options below, but you can also purchase one of our DIY Confetti Bookmark kits to make it even easier!

Why Make DIY Confetti Bookmarks?
Confetti bookmarks are the perfect blend of fun and functionality — and they’re an easy way to add a little celebration to your daily reading routine. They’re also great for:
Gifts for book lovers
Teacher or classroom surprises
Party favors or event swag
Mailers, packaging toppers, or customer thank-you gifts
Using up leftover confetti from other craft projects
If you’re looking for a craft that’s simple, satisfying, and super cute, this is it.

What You’ll Need (for DIY Option #1)
To make a more custom version of confetti bookmarks you will need:
Clear sheet protectors (I had some laying around from Staples, but these from Amazon would work great, too!) Heavyweight are best to give you a sturdier material.
Either a Fuse tool (along with a metal ruler + a protective work mat/cardboard) OR a sewing machine
A hole punch and ribbon (for embellishment)

How to Make Confetti Bookmarks (Step-by-Step)
1. Cut Your Bookmark Sleeves
Trim your sheet protector to your desired size — around 7″ x 2″ is a standard bookmark dimension. If you cut from the punched side of the sheet protector, one edge is already sealed, which saves time.
2. Seal the Edges
Use a fuse tool or sewing machine to seal the two long edges and one short edge. Leave one short end open for filling.
3. Add the Confetti
Pour about 2 tablespoons of confetti into each bookmark sleeve. You can add more or less depending on how full you want the shaker effect to be.
4. Seal the Final Edge
Close the open end using the fuse tool or your sewing machine to lock in the confetti.
5. Add Finishing Touches (Optional)
Punch a hole at the top and tie on a ribbon, tassel, or charm. You can also decorate the outside with stickers or permanent markers for a personalized look.


A few additional tips/notes:
If you're using the Fuse tool, line up your ruler to expose one edge of the bookmark and use the tool to roll down the side, sealing the edge. (For those of you unfamiliar, the Fuse tool is basically like an itty bitty iron with a special tip that will melt the plastic to seal closed. Youtube is your friend to get familiar with how to use it!)
If you're using a sewing machine, simply sew the edge closed instead. You can have fun with different colored threads if you go this route!


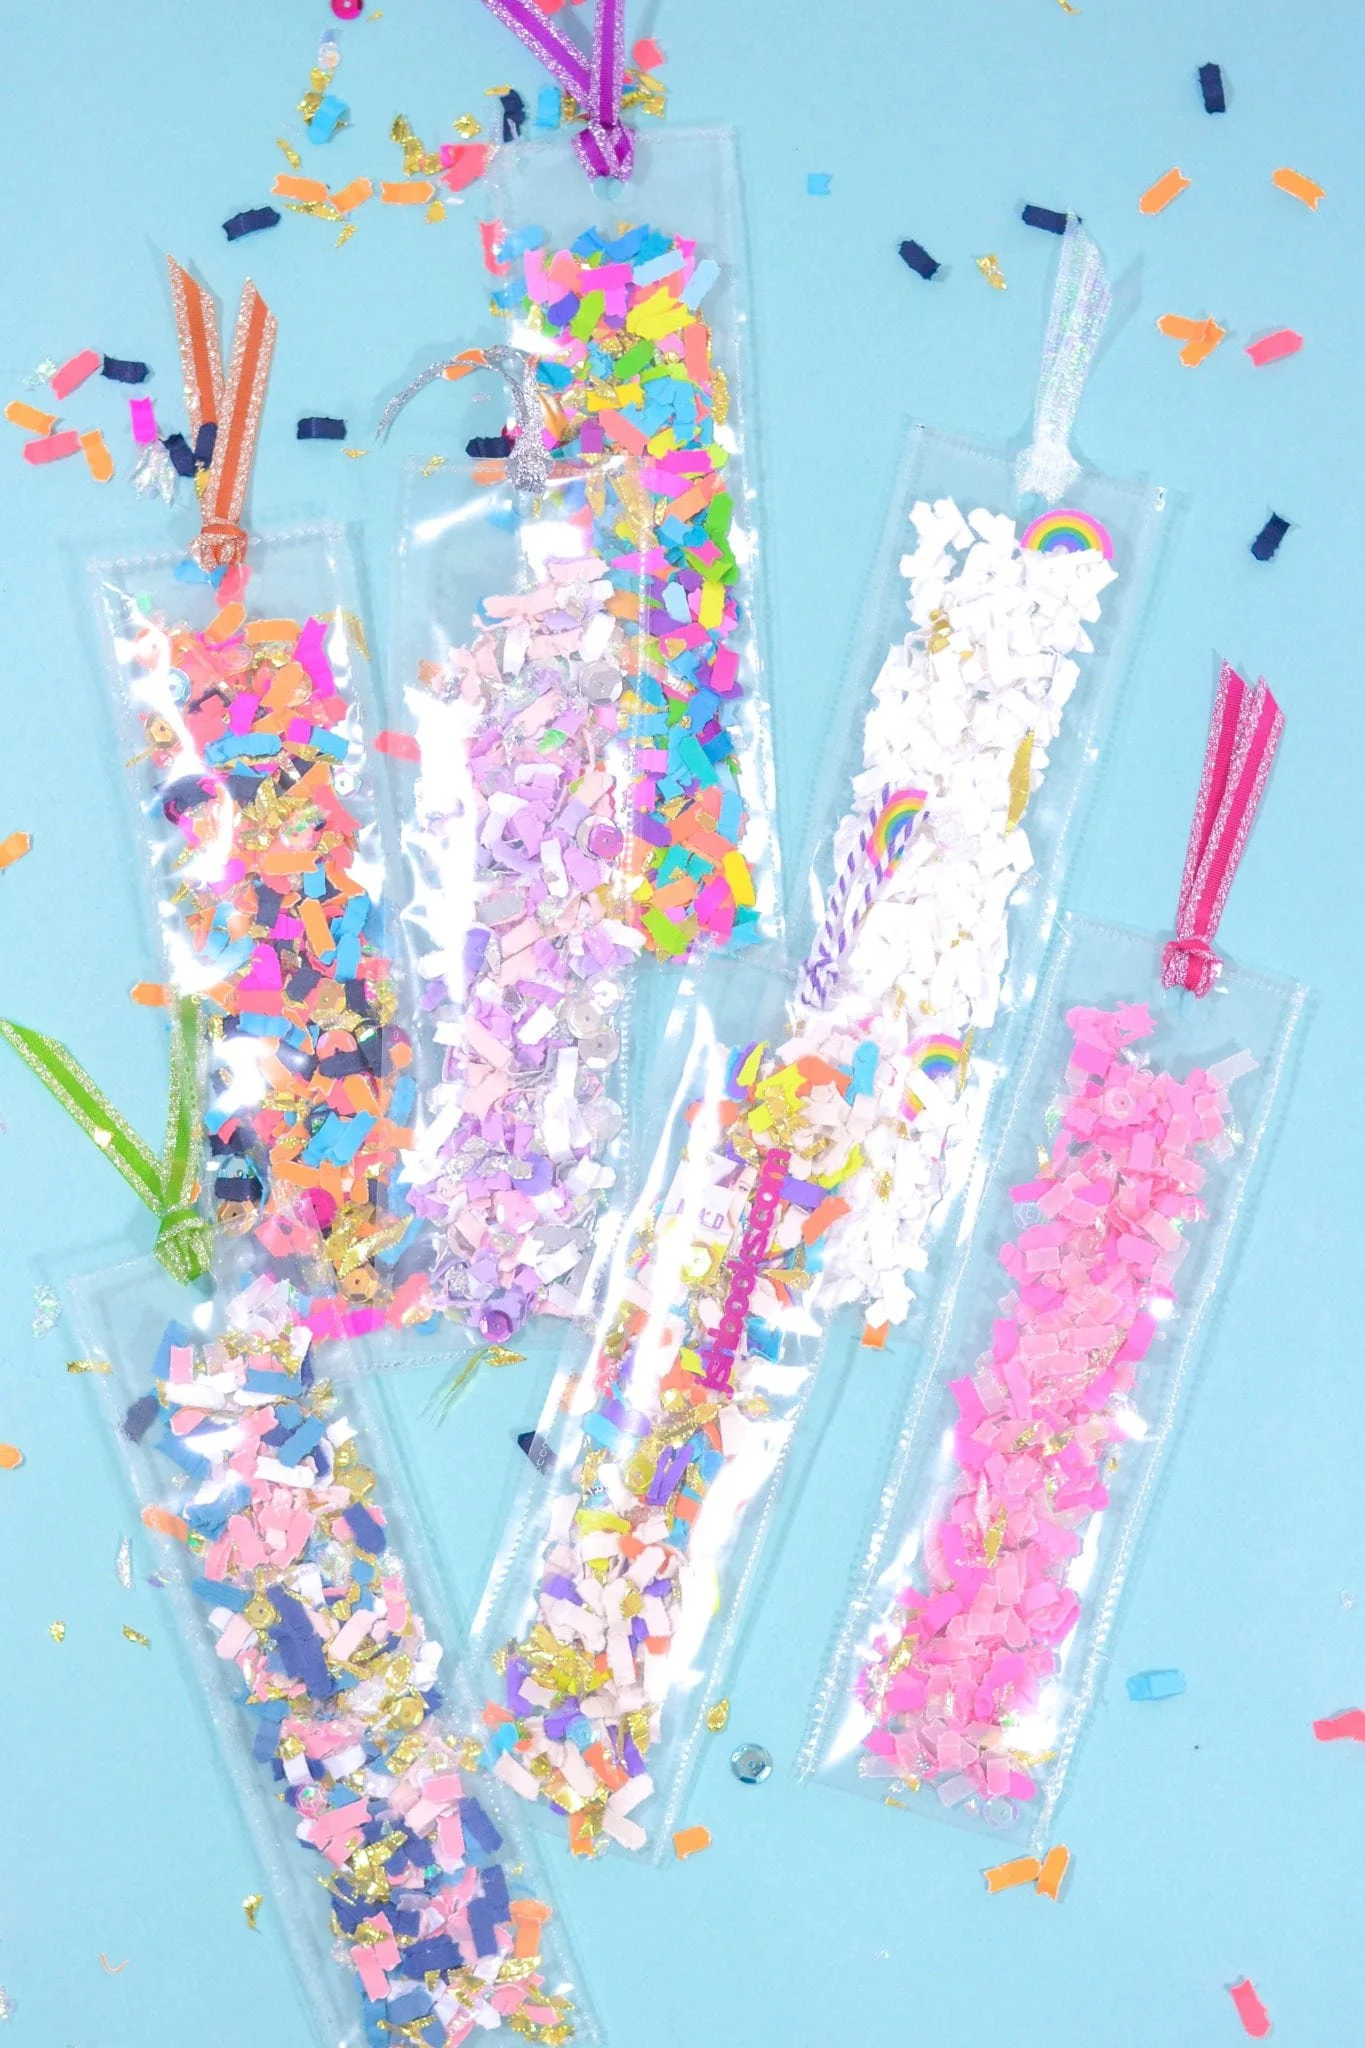
(Is it weird my favorite part was matching ribbon to the confetti mixes? 😅)


BONUS: Use the same materials/technique but play around with making different shapes! These hearts could make cute gift tags, right?

DIY Option #2
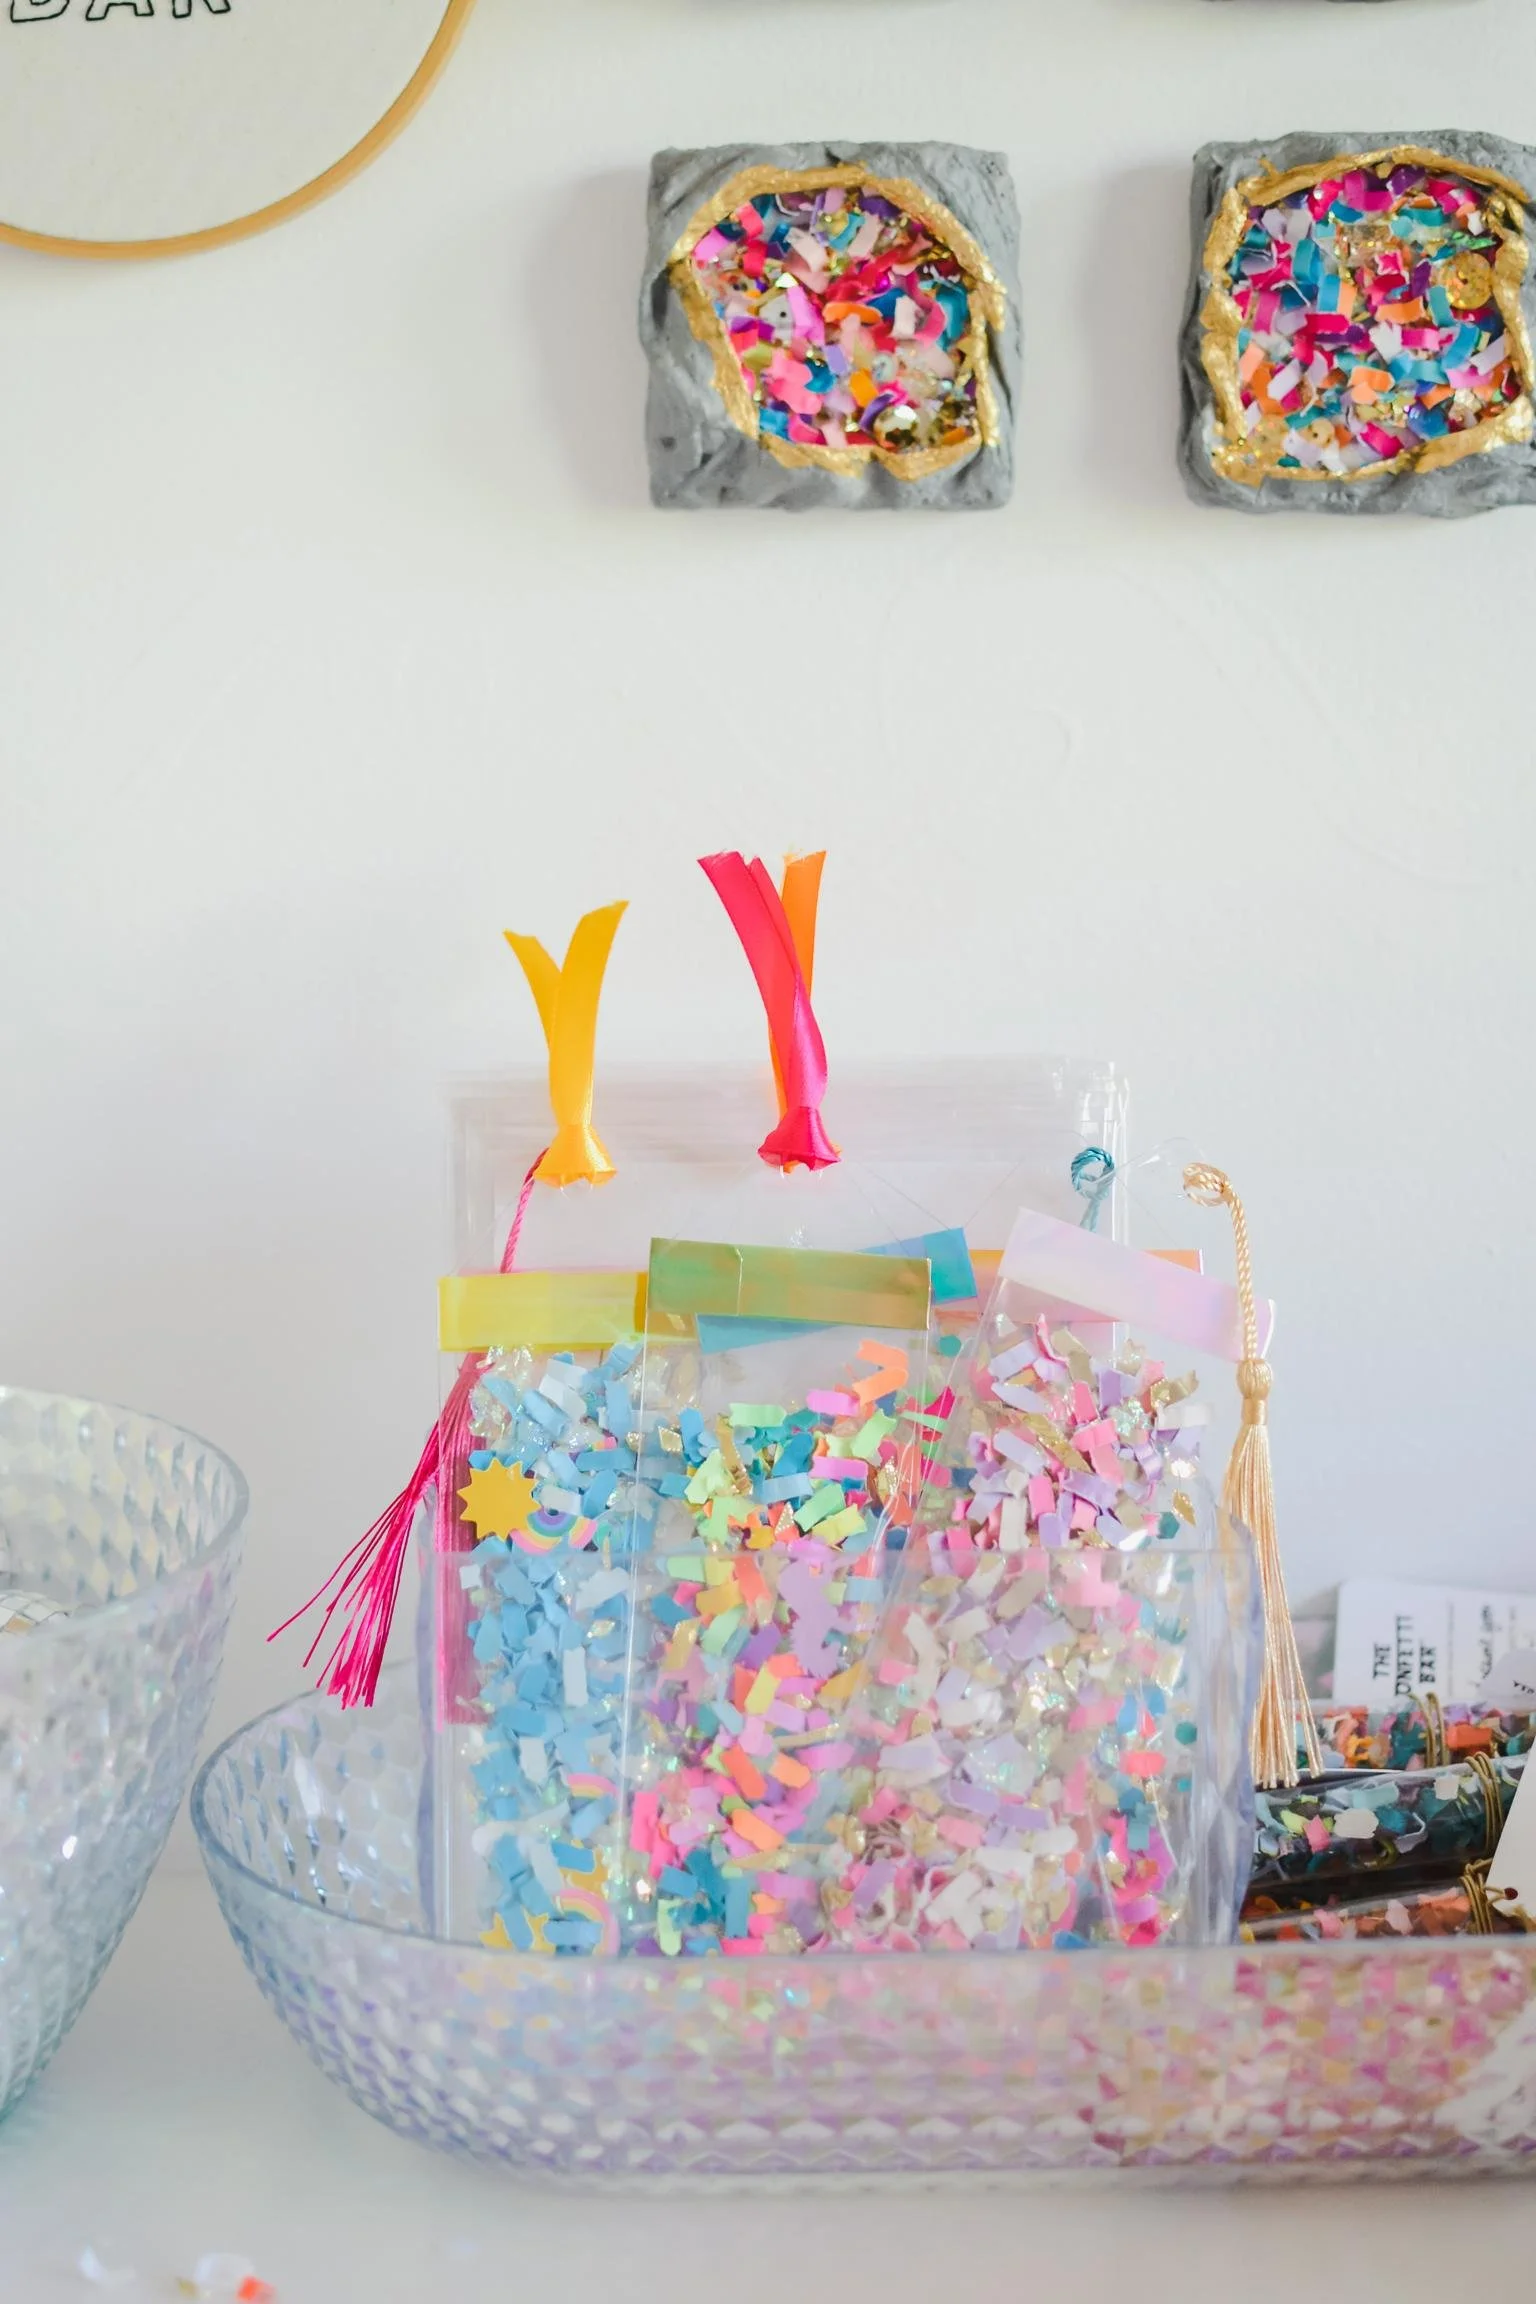
For an easier method, you can alternatively just purchase clear bookmark sleeves like these (if you prefer a flat top) or these (if you prefer a triangular top). Then you simply have to fill them up, using a pencil or pen to help push the confetti to the bottom corners. Optionally add decorative tape to seal them shut, and add some yarn/ribbons/tassels for that added flair. Easy peasy.
If you want it really, really easy, you can purchase on of our DIY Confetti Bookmark kits, which comes with the confetti, too, for an all-in-one do it yourself kit. :)


Creative Ideas & Variations
Want to level up your DIY bookmarks? Try these ideas:
Themed bookmarks for Valentine’s Day, birthdays, weddings, or holidays
Custom confetti mixes that match your aesthetic, brand, or event
Shaped bookmark pockets (hearts, stars, circles — perfect as gift tags!)
Add pressed flowers along with confetti for an extra magical vibe
These little shaker bookmarks also make adorable inserts for bookshop orders, subscription boxes, author gifts, and snail-mail happy grams.

(A book with #TheConfettiBar confetti on the cover plus a confetti bookmark?! Perfection. 💜)

(Psst...Amazon links used in this post are affiliate links. We cool?)

These bookmarks are quick, colorful, and guaranteed to make any page feel like a party. Whether you’re keeping them for yourself or sharing them with others, confetti bookmarks turn even ordinary reading moments into something special.